Upload and Deploy Contract
There are several ways to upload and deploy contracts to the Stellar network. If you are familiar with the CLI workflow, you can easily upload and deploy contracts using two different commands on the Stellar CLI. If you prefer to do it all in a web interface, the "Upload and Deploy Contract" page on Stellar Lab provides a convenient way to upload and deploy contracts to the network.
The deployment process consists of two distinct phases:
- Upload phase: Uploading
WASMbytecode to the network - Deploy phase: Deploying a contract instance from the successfully uploaded bytecode
Each upload and deploy phase requires creating a transaction and signing the transaction.
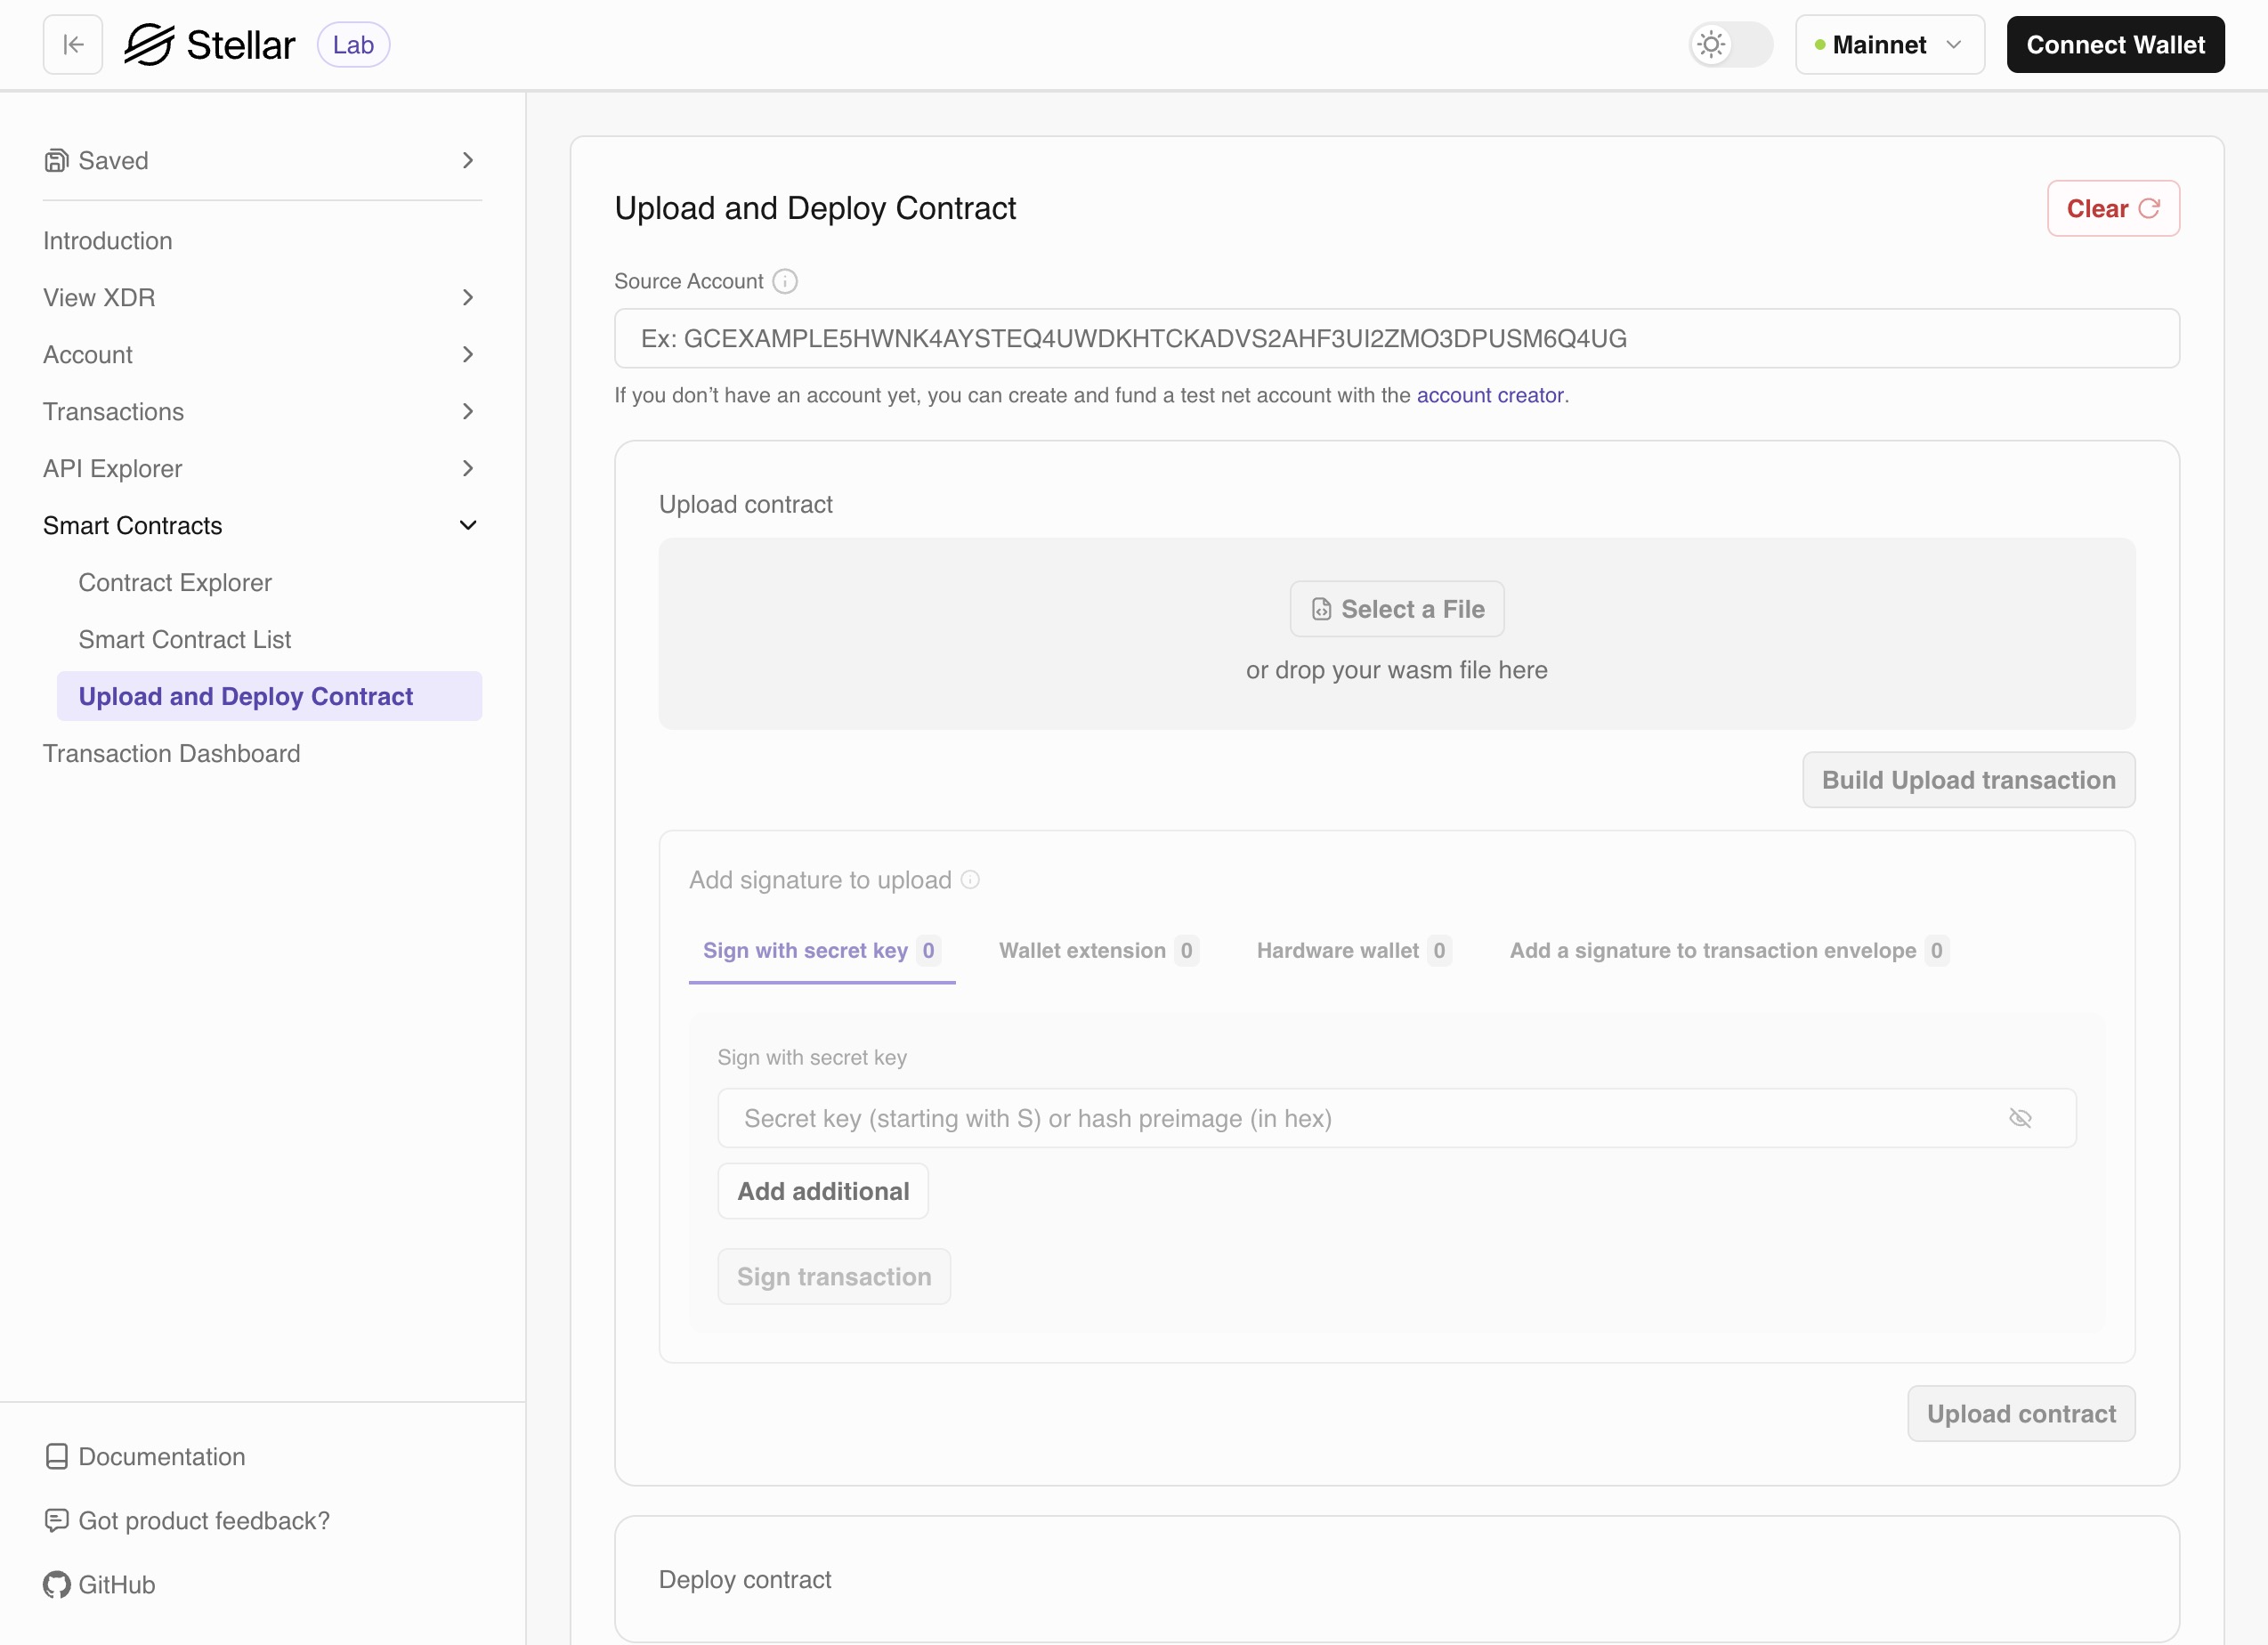
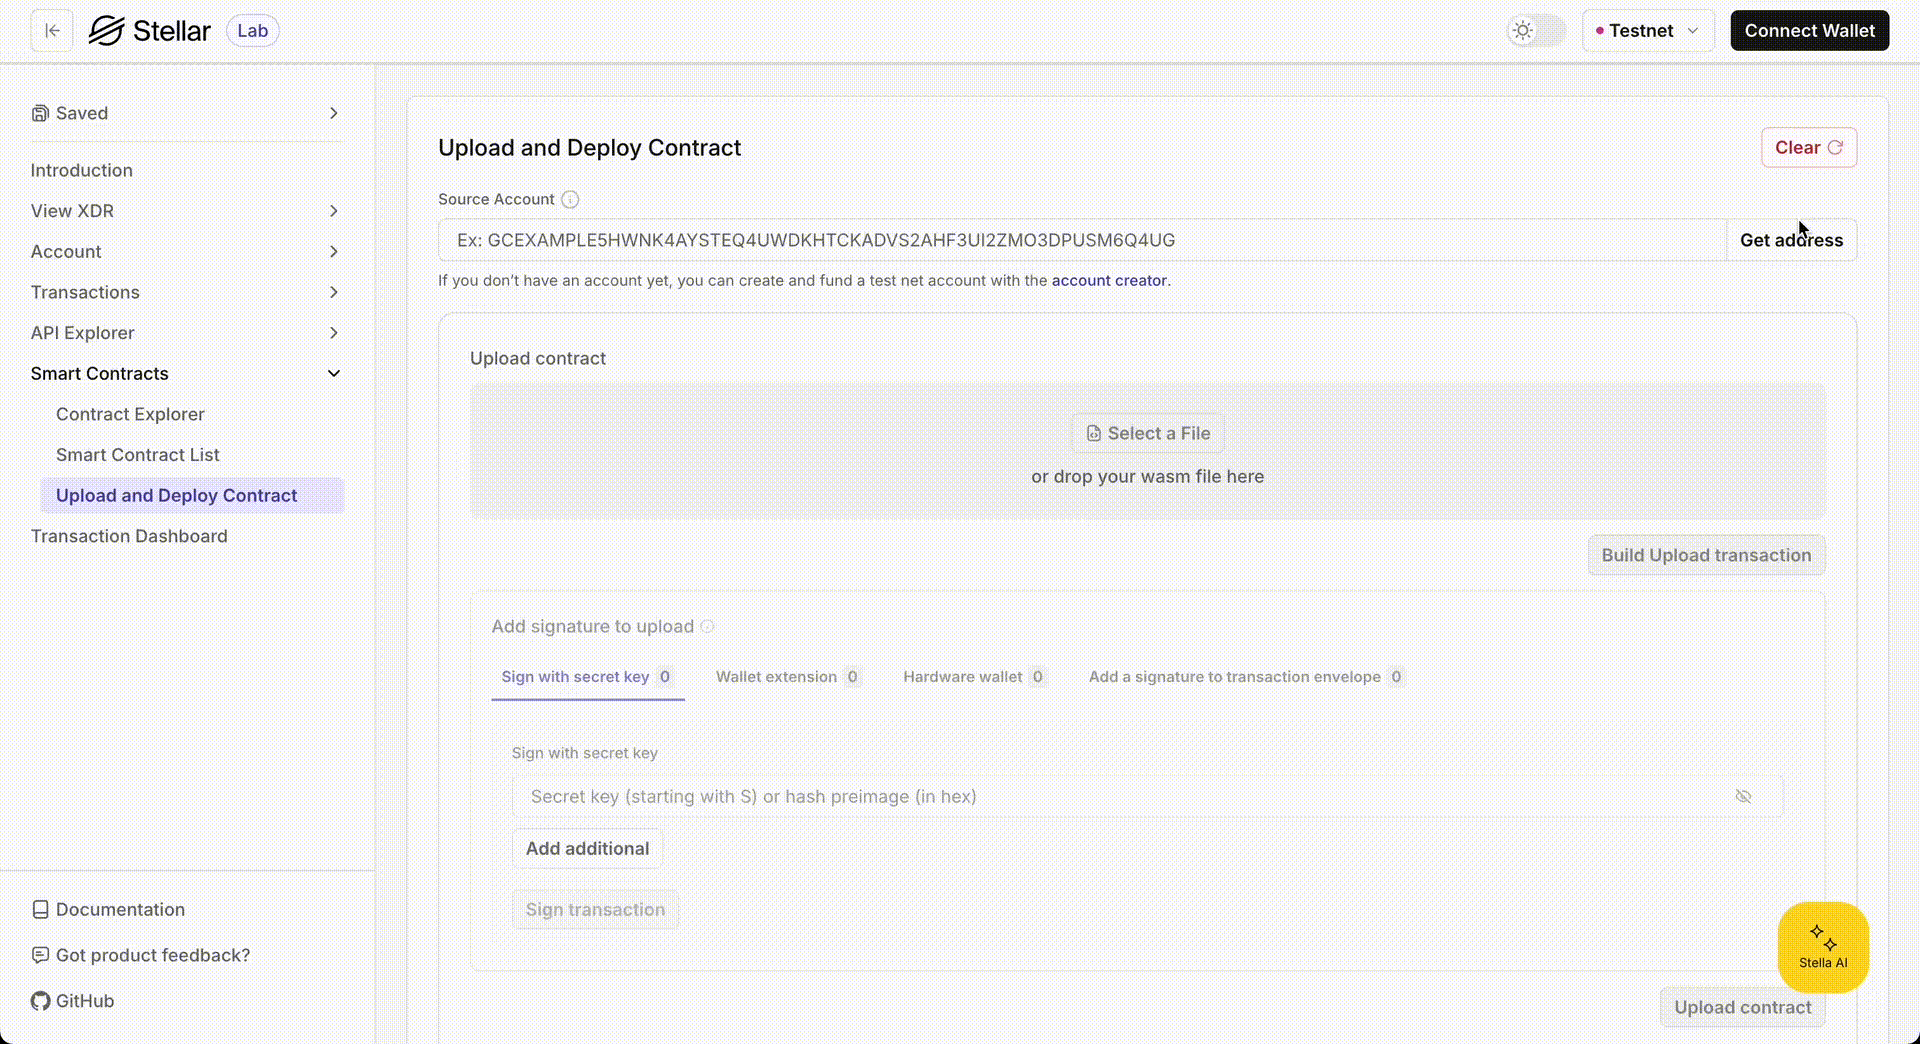
Upload Phase
The "Upload phase" accepts .wasm files through drag-and-drop or file browser selection. During this phase, the Lab checks whether the uploaded .wasm file already exists on the network. If it's not on the network, it creates an upload transaction that you need to sign using any of the following methods: secret key, hardware wallet, extension wallet, or signature.
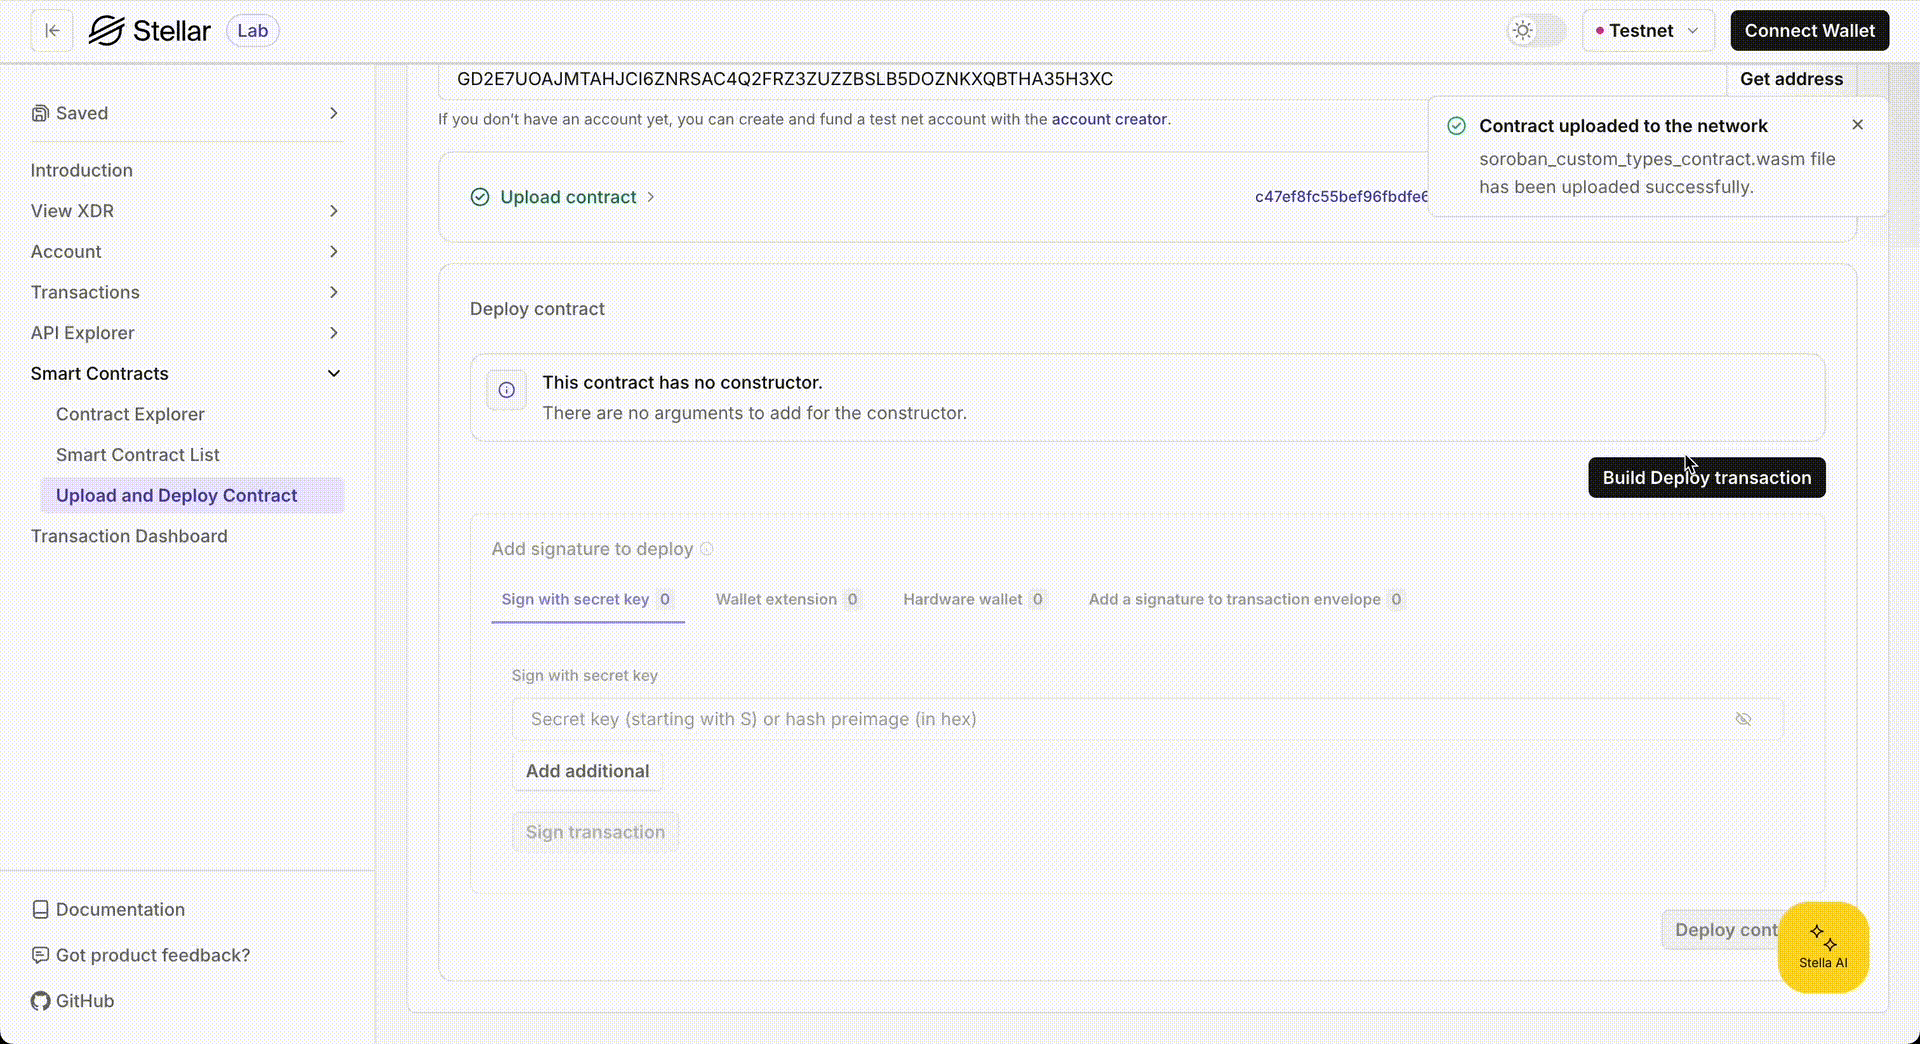
If the requested WASM bytecode is already uploaded on the network, the Lab skips the "Upload contract" section and opens the "Deploy contract" section by default. You will see a message: "This contract WASM has already been uploaded. Wasm hash: ****"
Deploy Phase
During the "Deploy phase", the Lab checks whether the WASM contract metadata has a constructor and what arguments it requires. Once all the required fields are filled, it creates a deployment transaction. After the transaction is signed and successfully submitted, you can check your contract on blockchain explorers like Stellar.Expert or Stellar Lab's contract explorer right away.