Contract Explorer
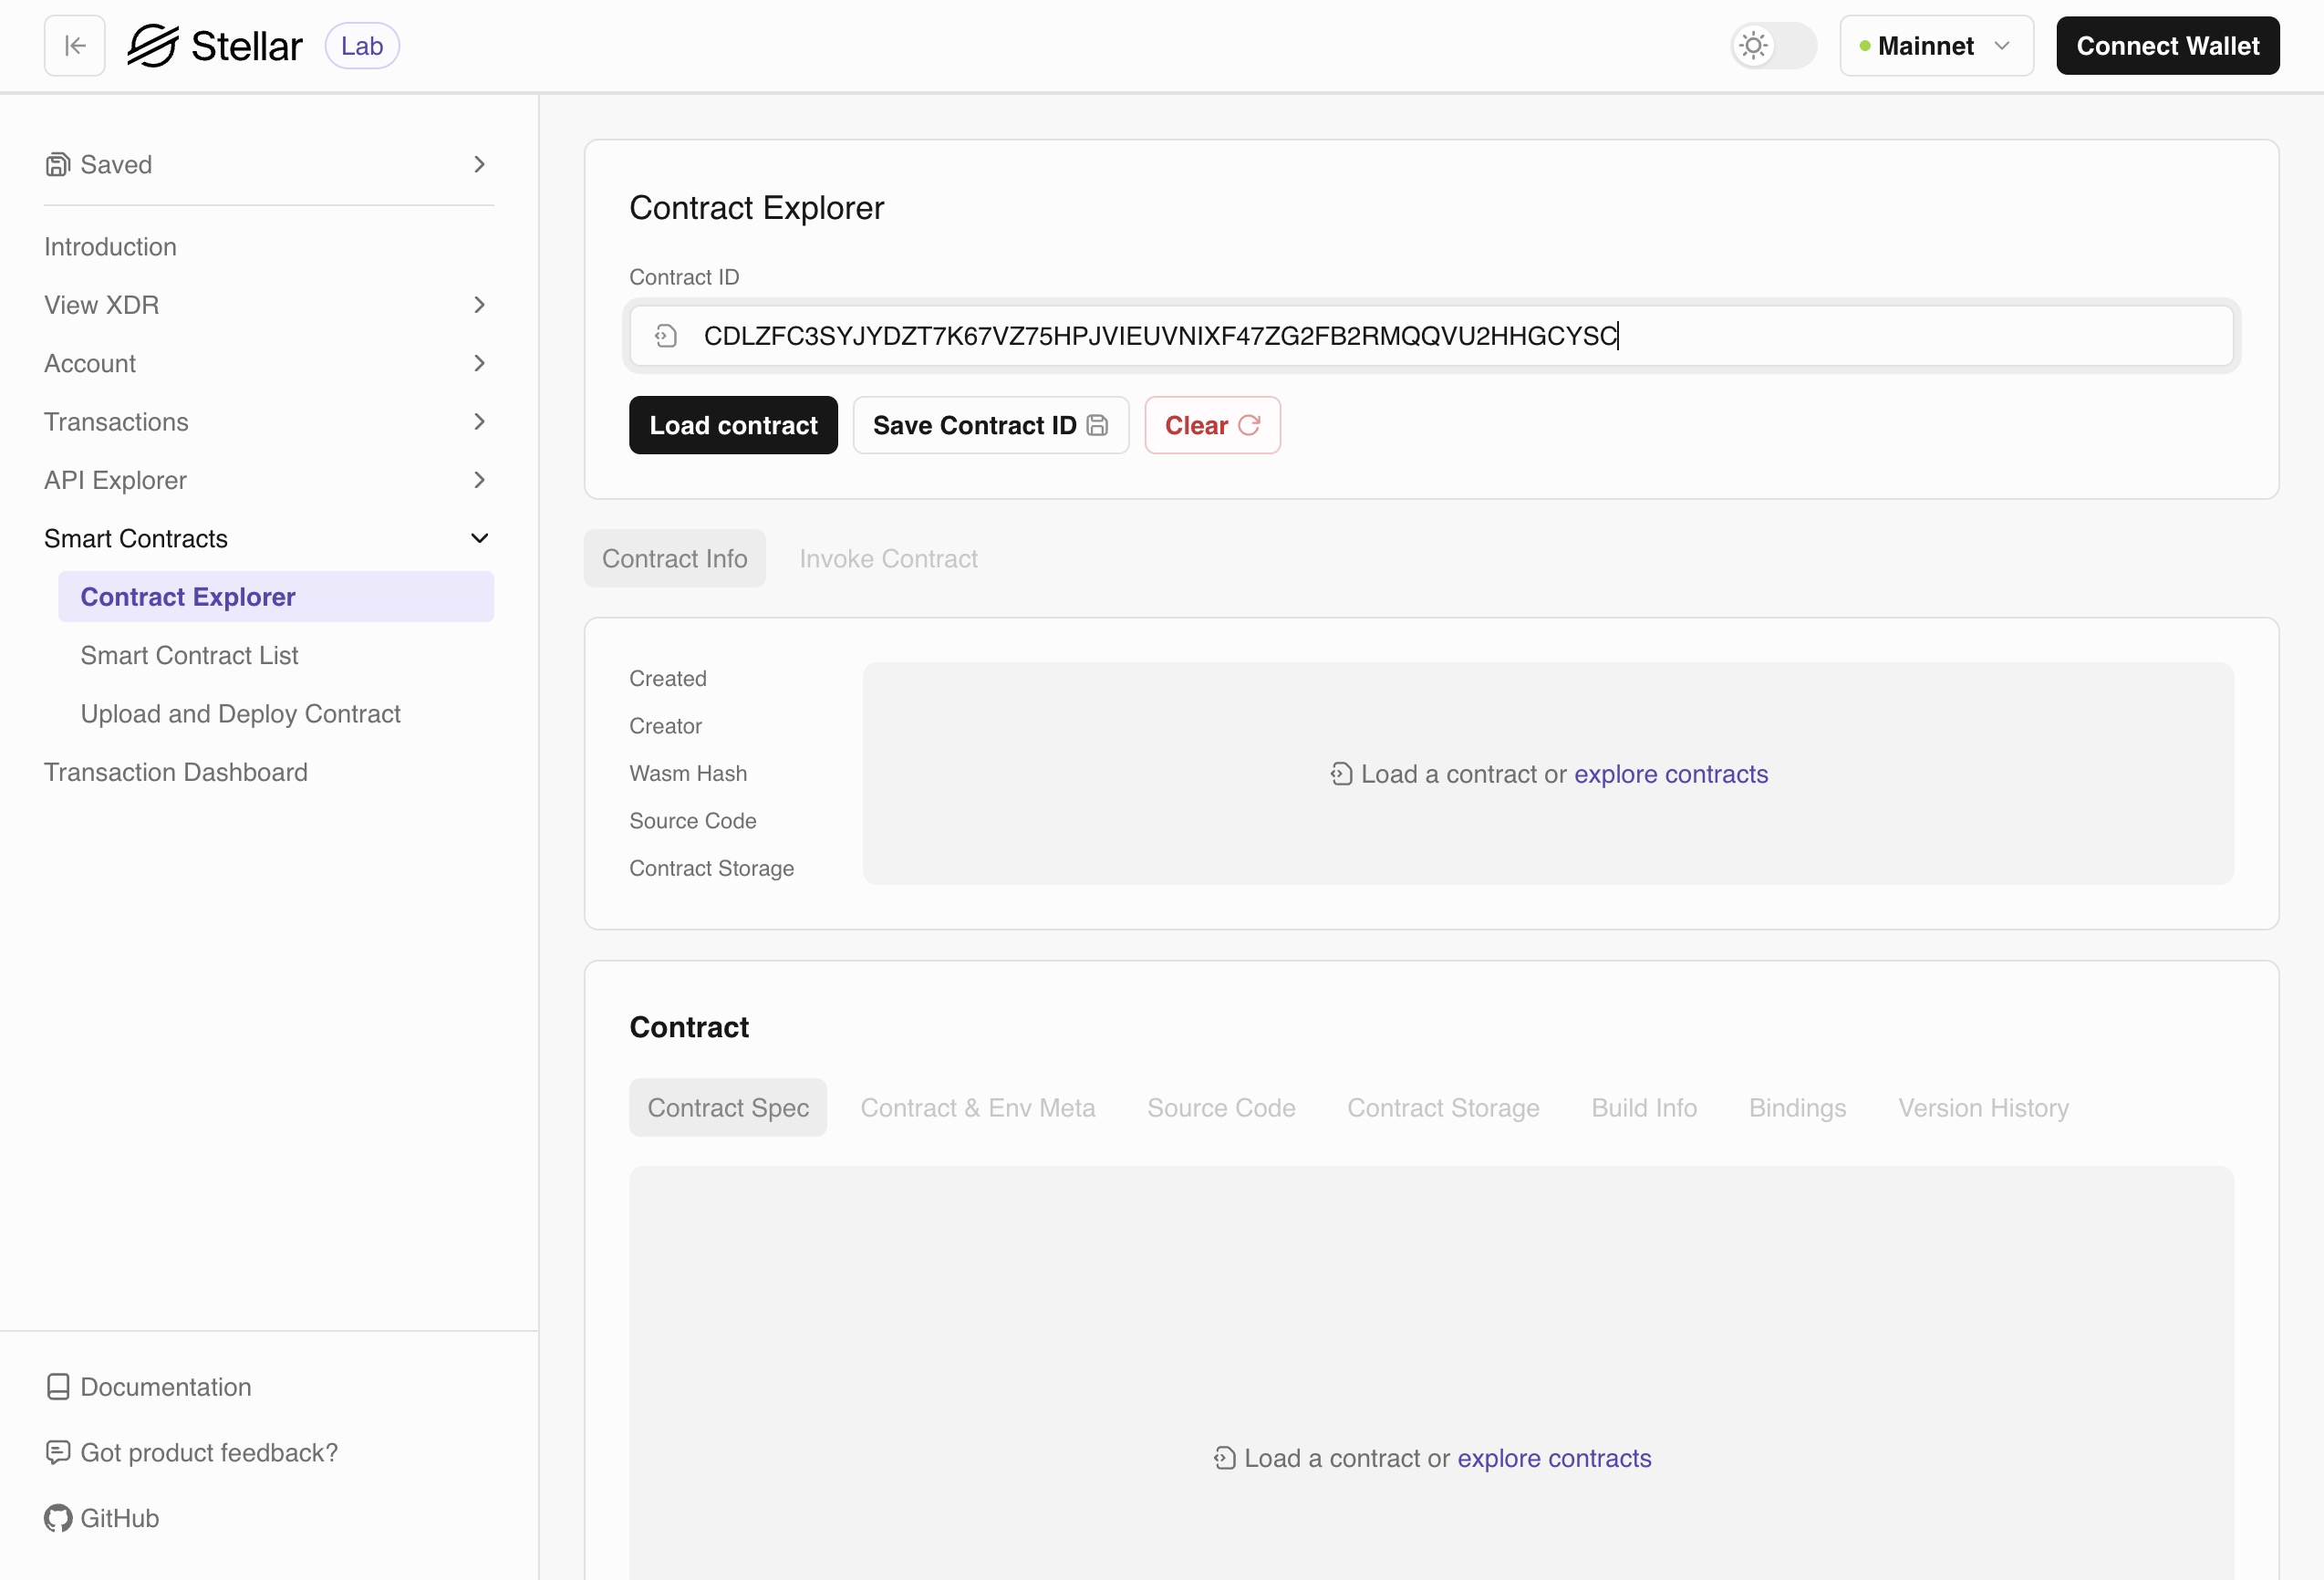
The Contract Explorer is your primary interface for examining deployed smart contracts on the Stellar network. Through an intuitive browser-based interface, you can access comprehensive insights into contract specifications, source code, storage state, build information, version history, and client bindings — plus invoke contract methods directly without any command-line tools.
RPC URL is required to view the contract information. You can update or set the RPC URL in the network selector in the top right corner. See RPC Providers.
Getting Started
To explore a contract:
- Navigate to the Contract Explorer
- Select your network
TestnetorMainnet - Enter a contract ID
- Browse through the tabs to familiarize yourself with the contract's structure and capabilities
Let's load CAJJZSGMMM3PD7N33TAPHGBUGTB43OC73HVIK2L2G6BNGGGYOSSYBXBD contract ID on the Mainnet network, and see what we can learn about it.
Contract Info
In the "Contract Info" section, we can view the date when the contract was created and the creator's Stellar address. It also displays the Wasm hash and GitHub repository, along with a link to the source code of this contract. Also, you can see how many contract storage entries this contract has.

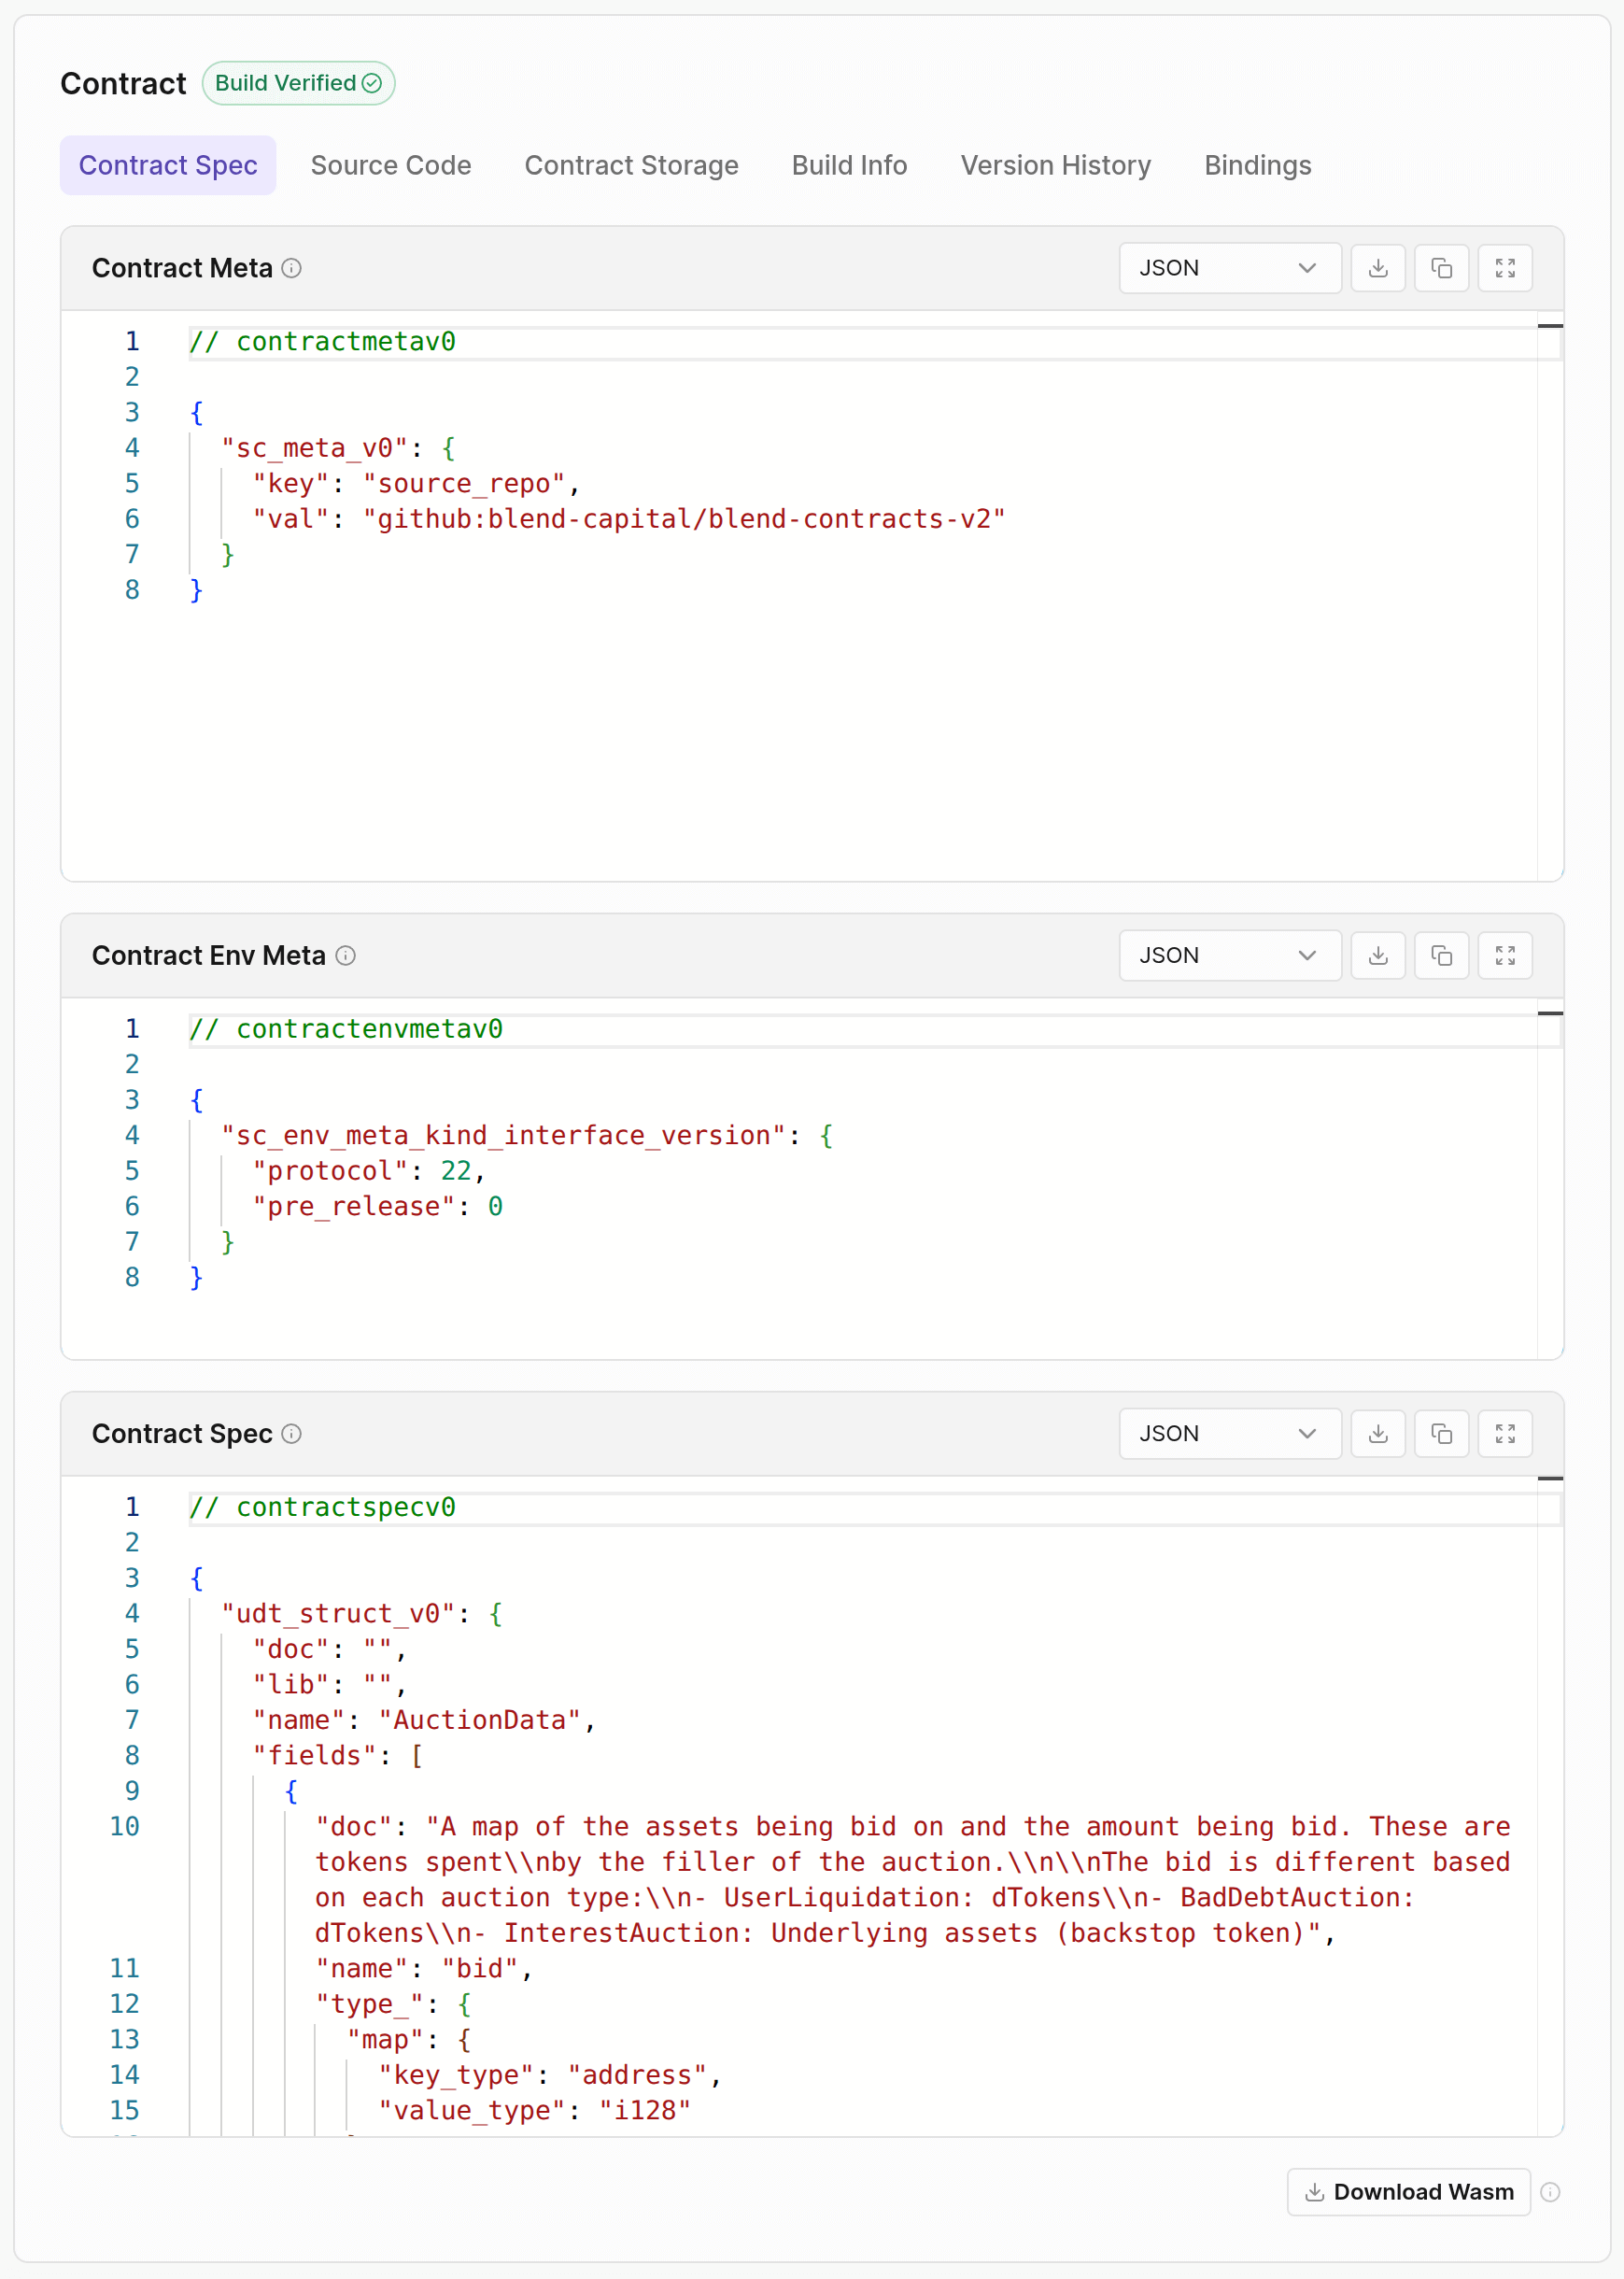
Contract Spec
In this section, you can view Contract Meta, Contract Env Meta, and Contract Spec from the Wasm file. You can view each section in Interface, JSON or XDR formats, by selecting the type from the dropdown in the top-right corner of the editor view. You can also download each section individually in the chosen format (the download button is located next to the type dropdown), or download the entire Wasm file by clicking the "Download Wasm" button at the bottom of the section.
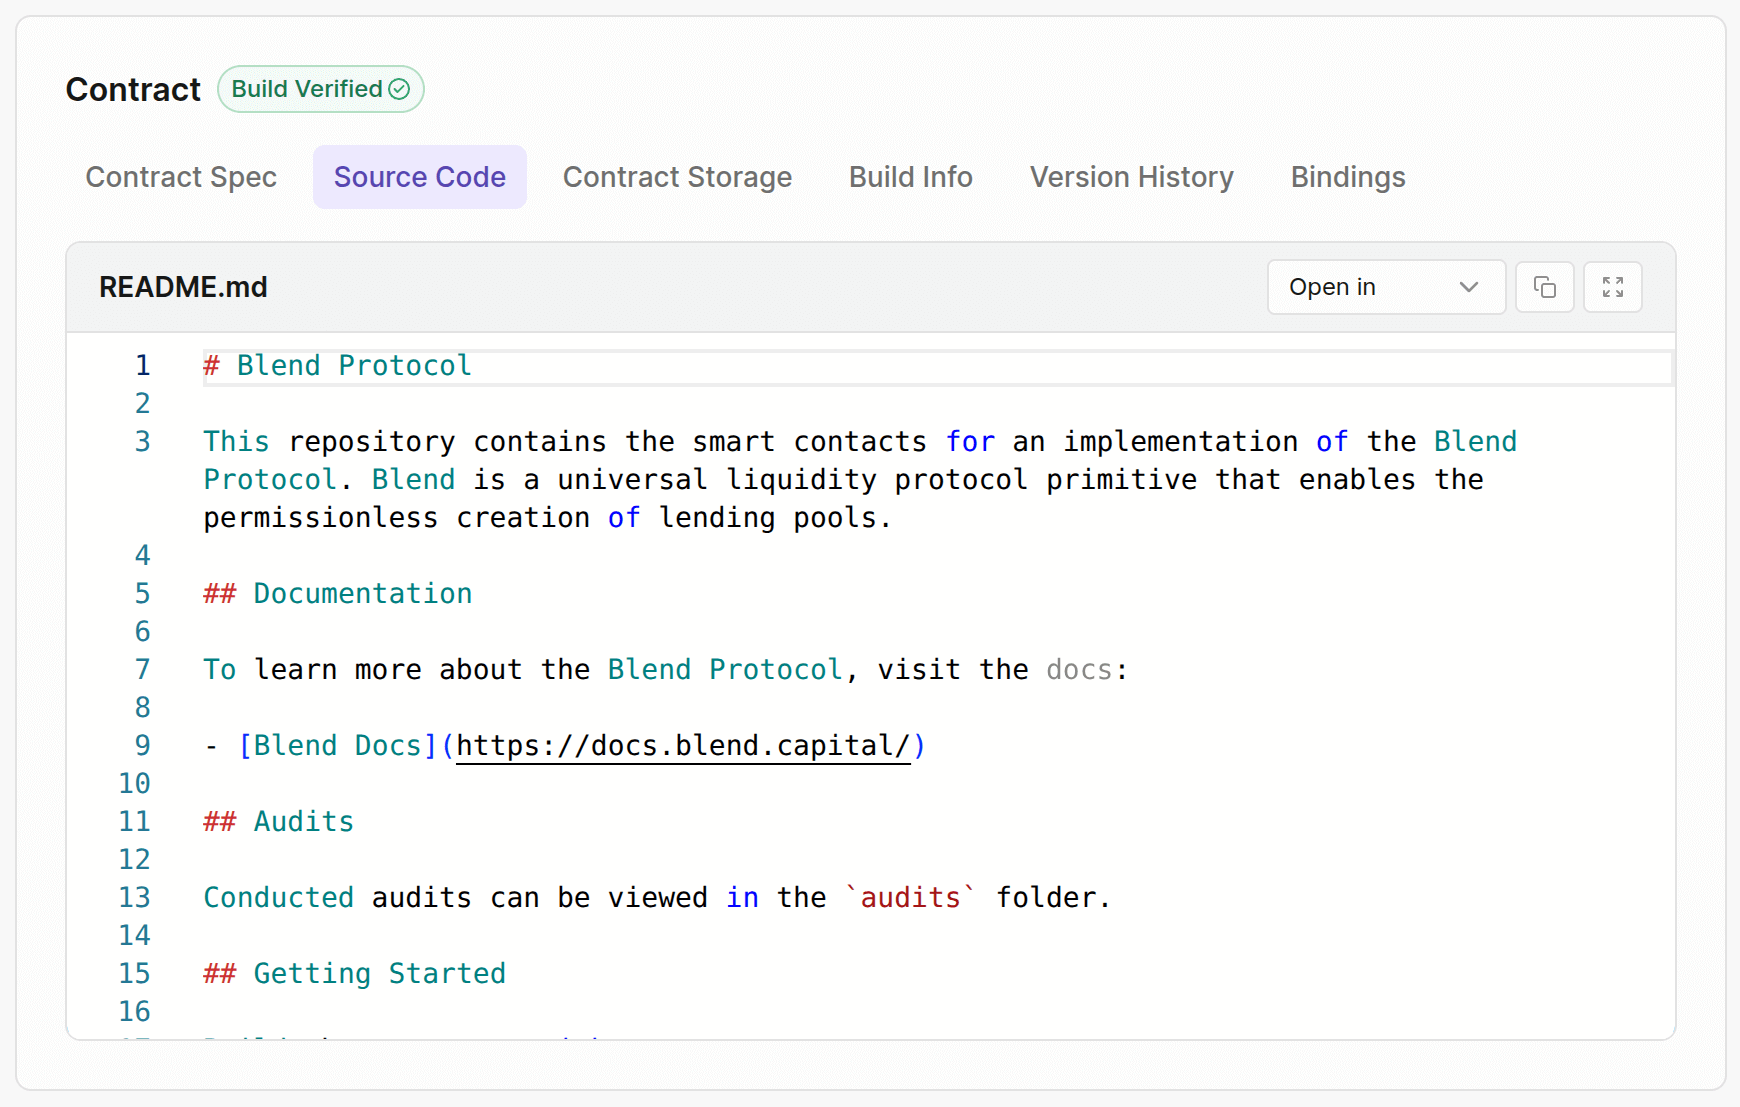
Source Code
In the code editor, you can view the README.md file of the smart contract repository. You can further explore the code by opening it in a Dev Container, Codeanywhere, or by using the GitHub link (see the dropdown in the top right corner of the editor view).
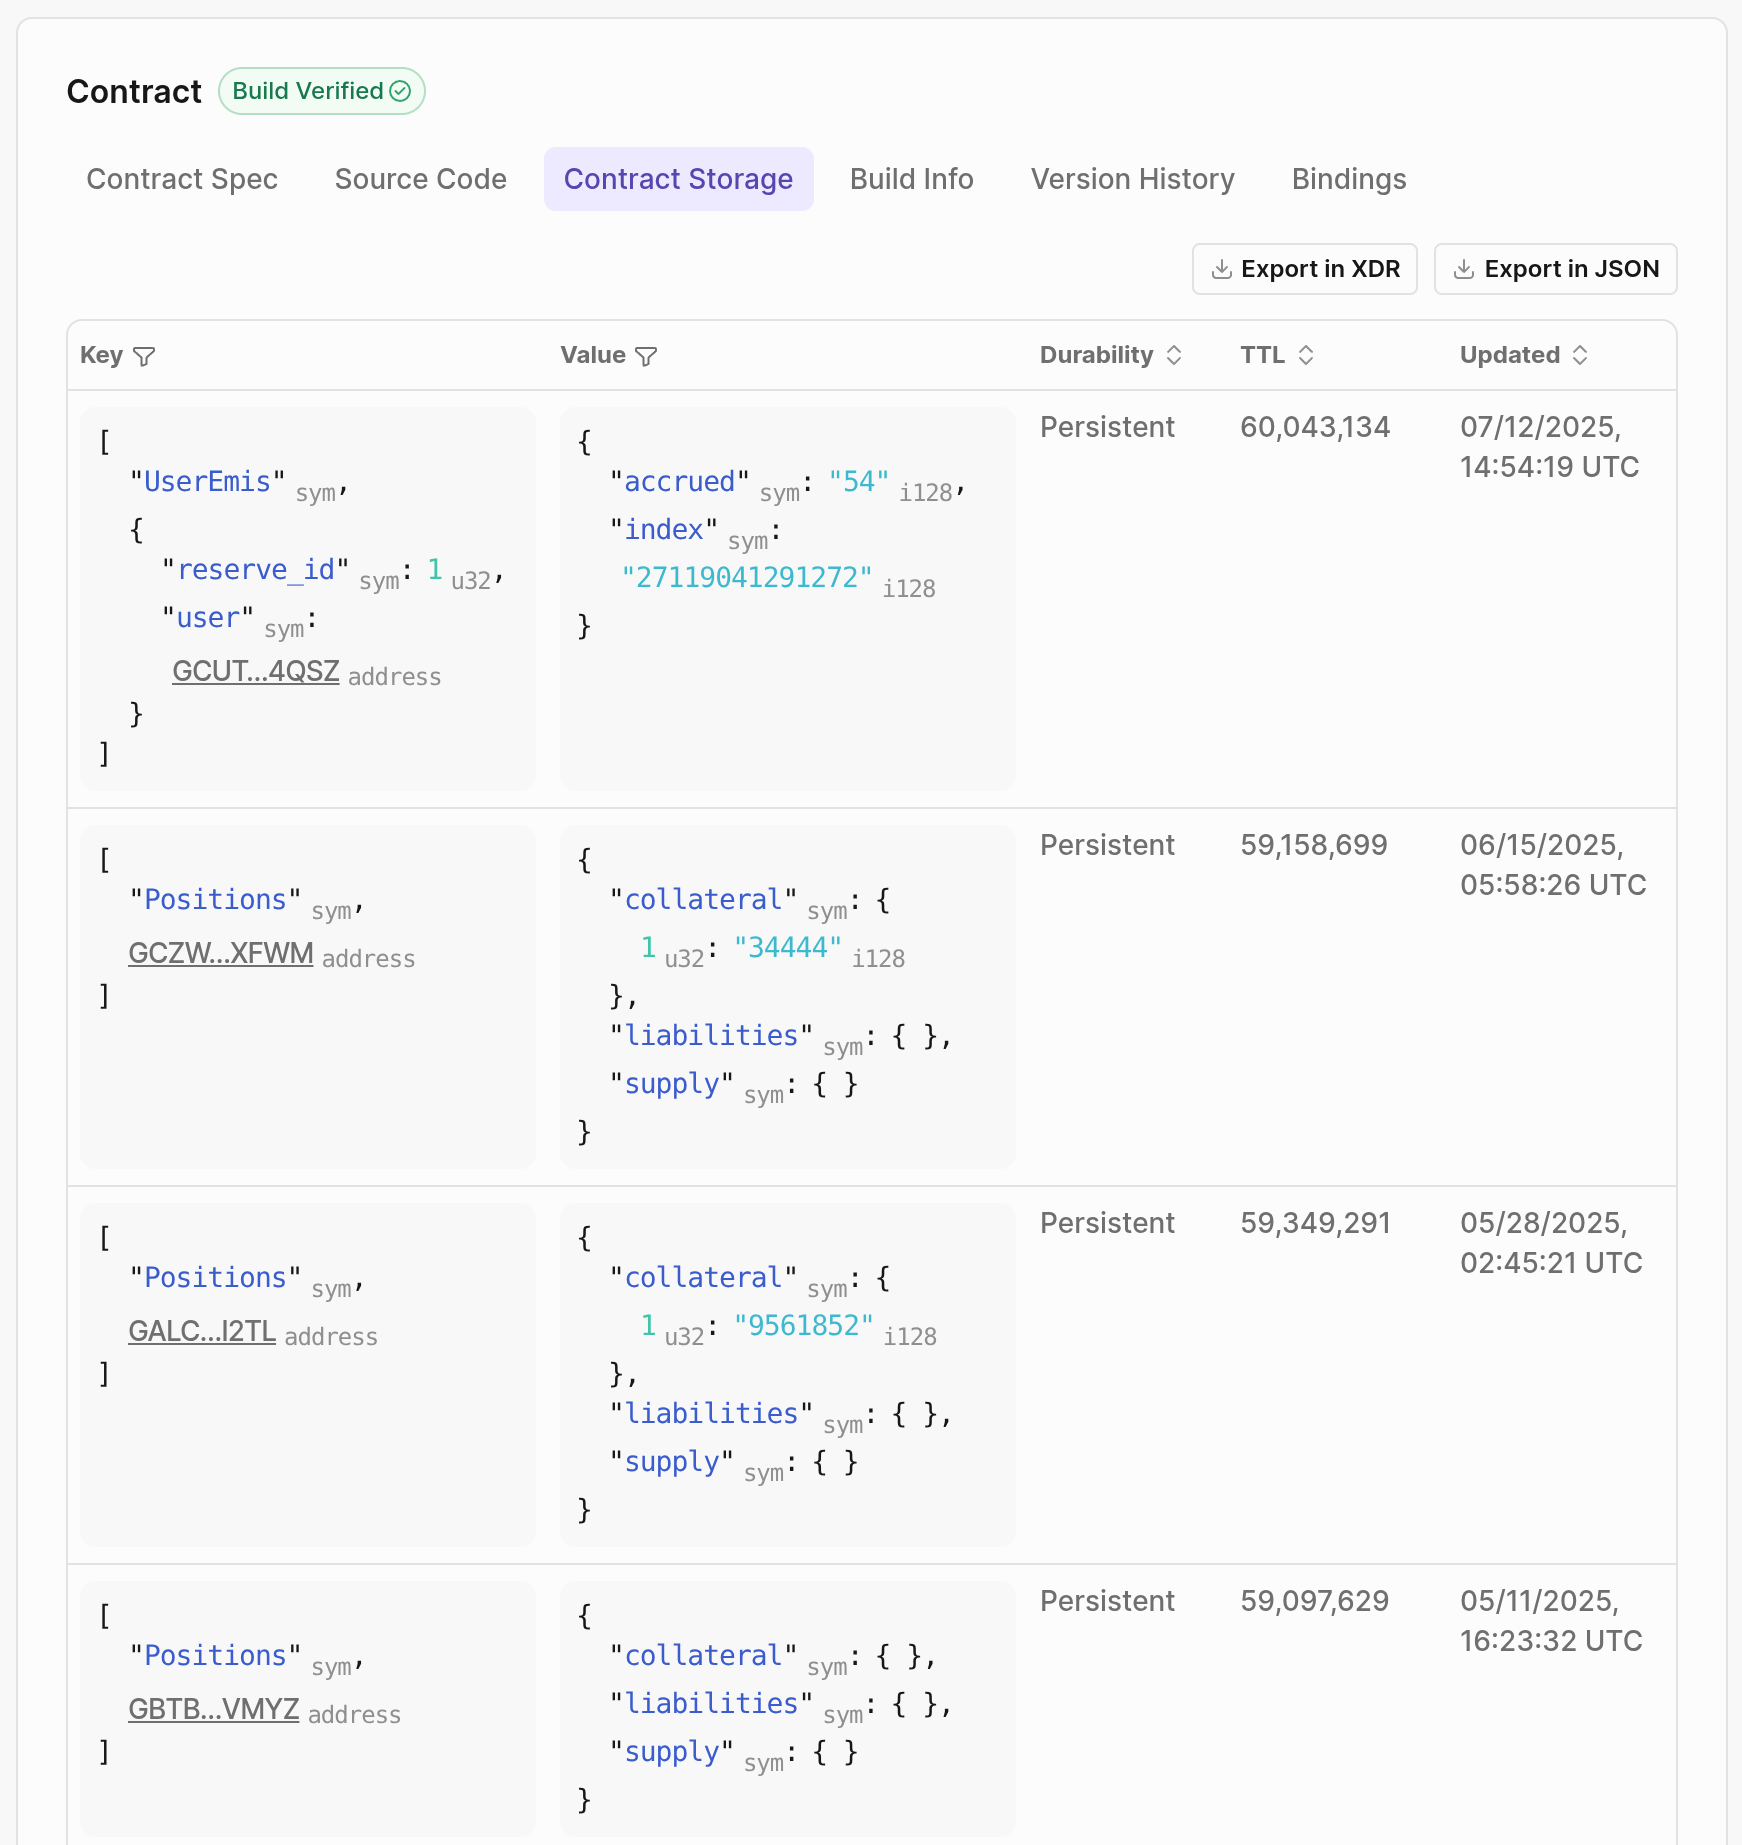
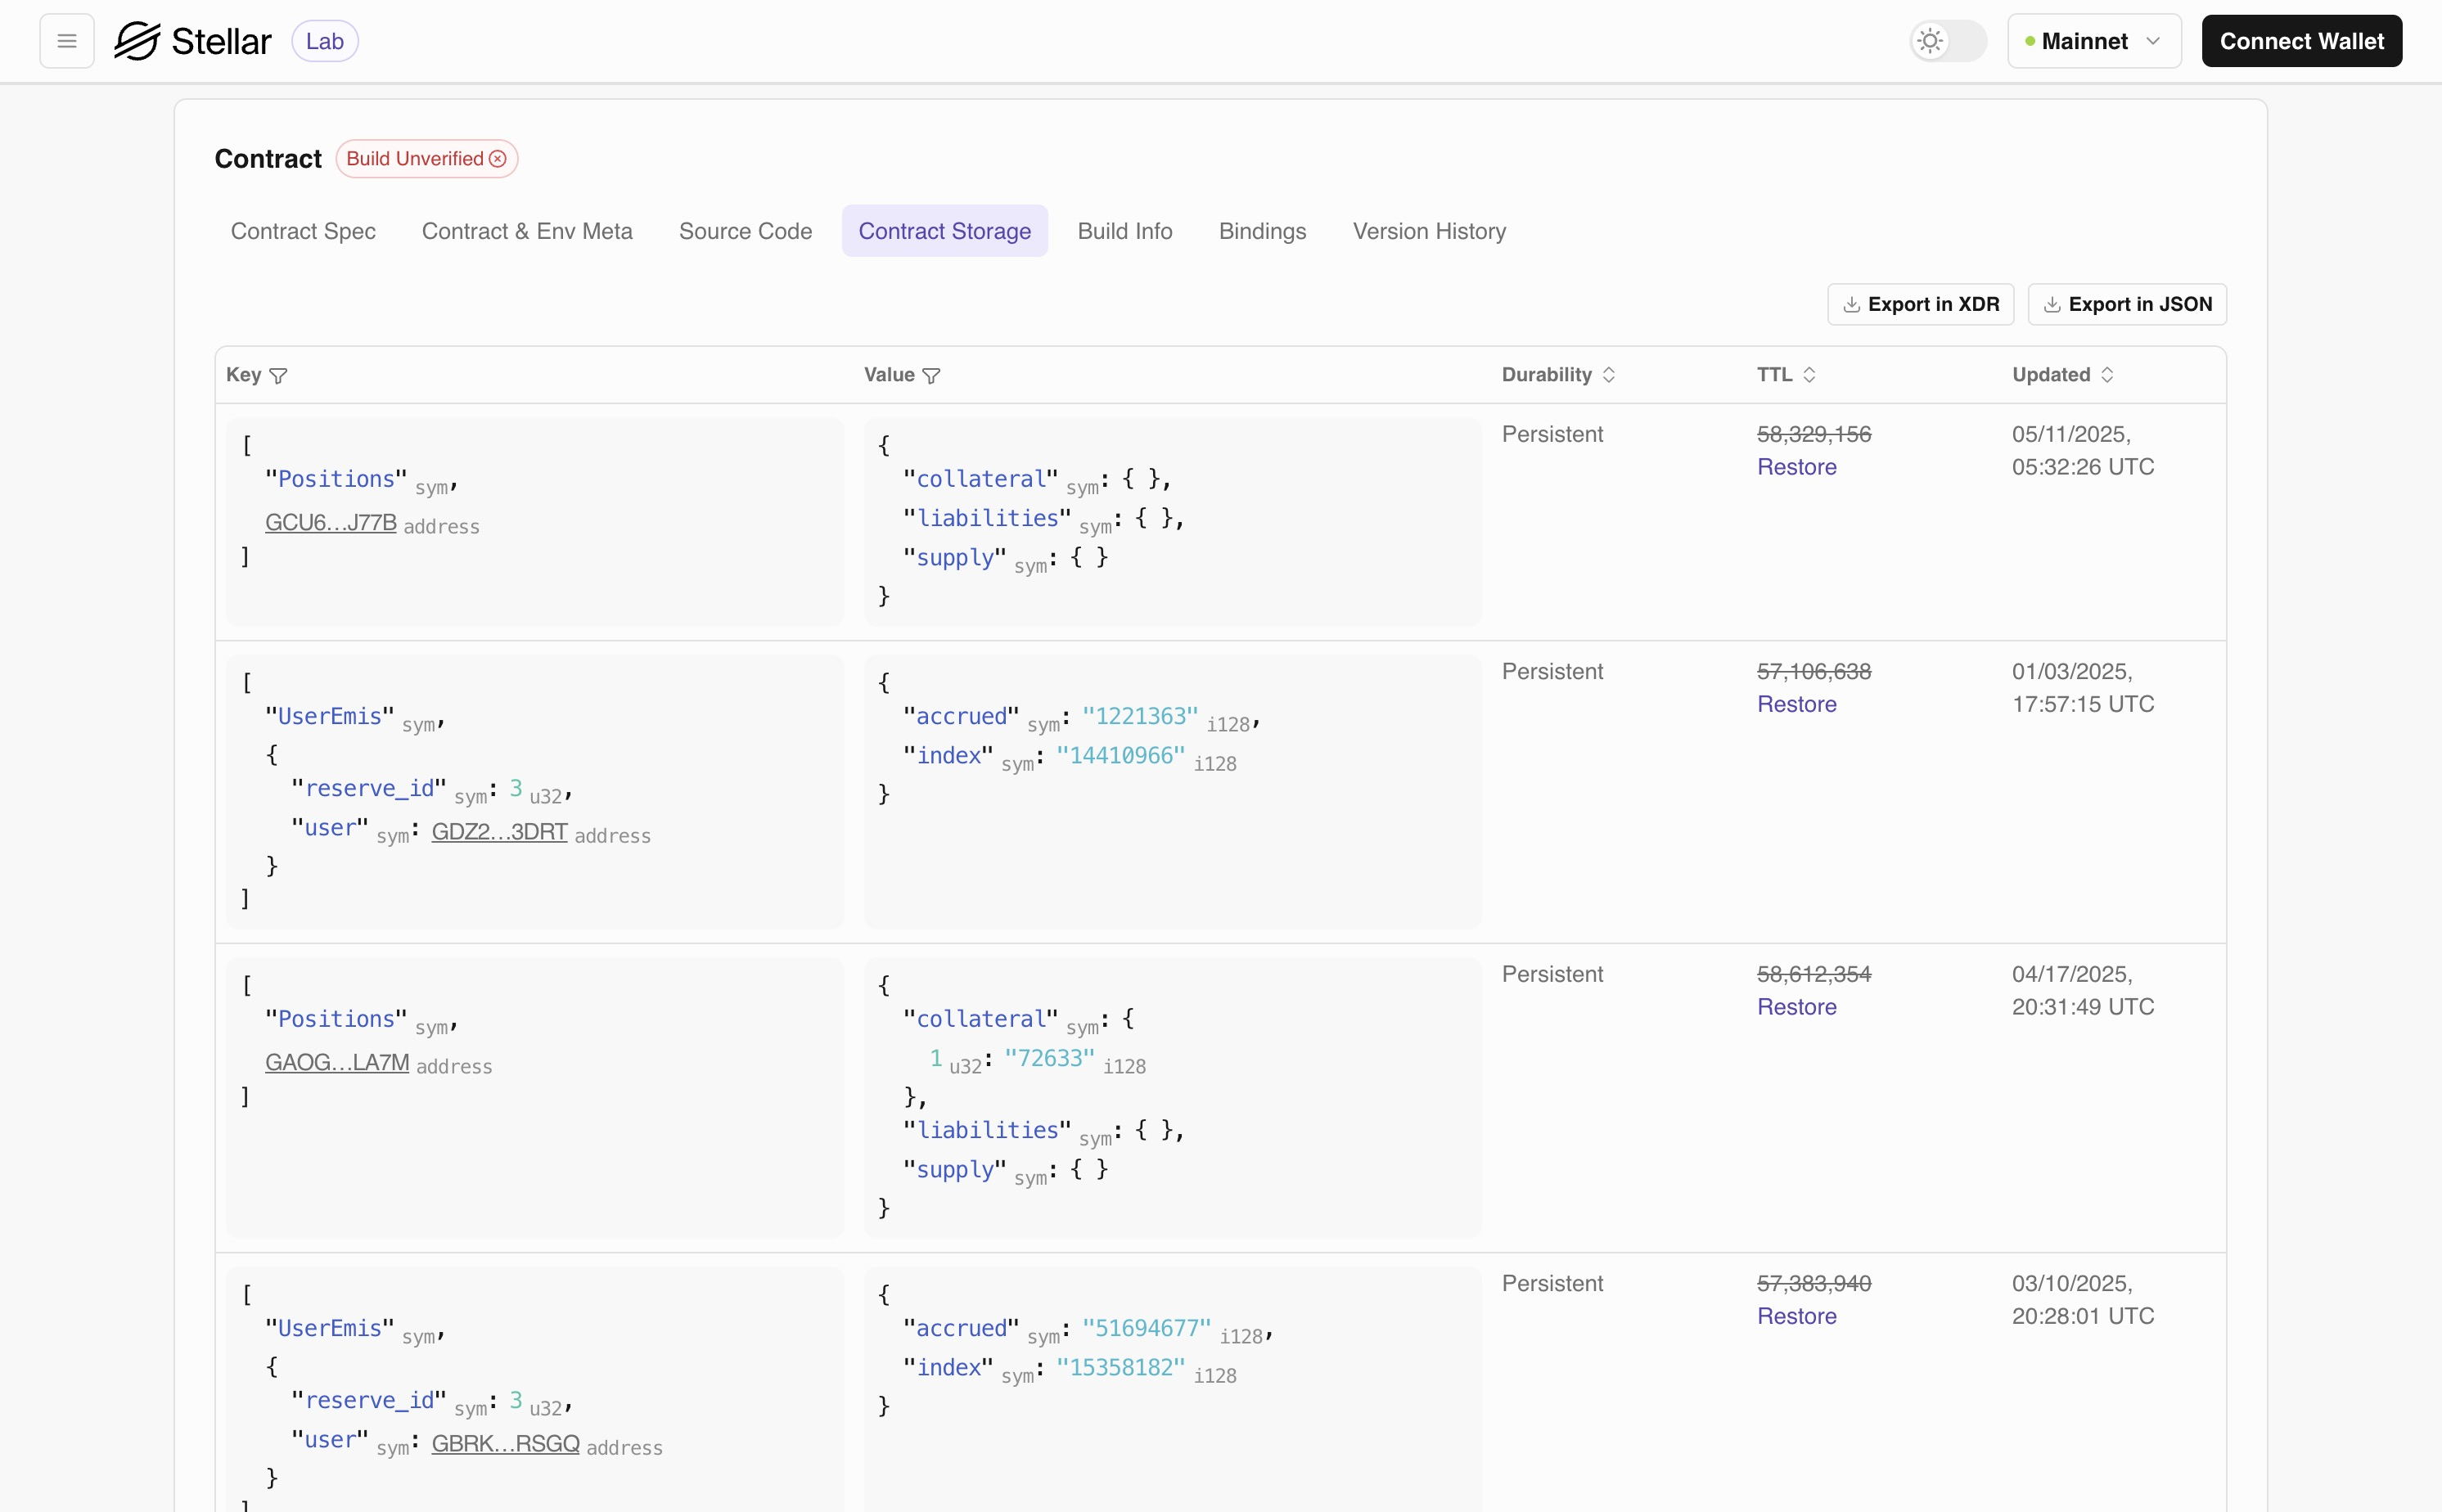
Contract Storage
This section displays all stored data entries for the smart contract in a human-readable format. The data can be filtered by Key and Value, sorted by Durability, TTL, or Updated columns, and exported in either XDR or JSON formats.
Restore Footprint
Archived storage entries can be restored by clicking the Restore button next to the entry.
This action redirects you to the Build Transactions page with a RestoreFootprintOp operation automatically configured with the necessary parameters to restore the archived footprint.

Verify that the prepared Soroban Transaction XDR includes the contract data you want to restore in its footprint.read_write resources, and confirm that both read and write bytes are non-zero.
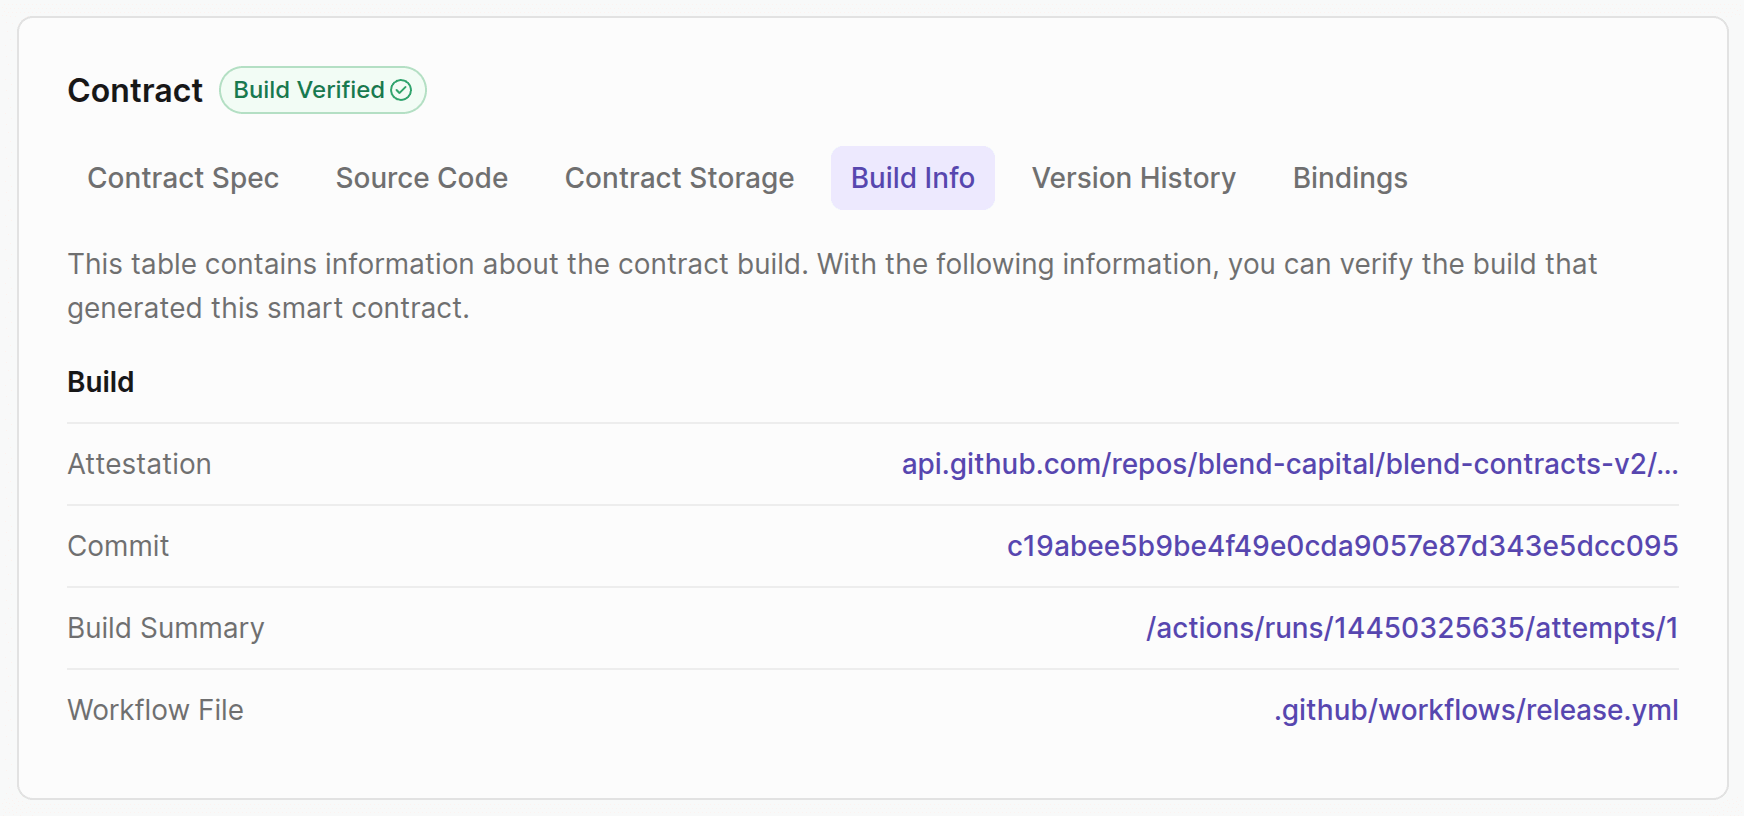
Build Info
If the smart contract has build verification configured (following the Contract Source Validation SEP), this section displays information from the GitHub attestation.
"Build Verified" only means that the GitHub Action run has attested to have built the Wasm, but does not verify the source code. Always make sure you fully understand what the smart contract does before using it.
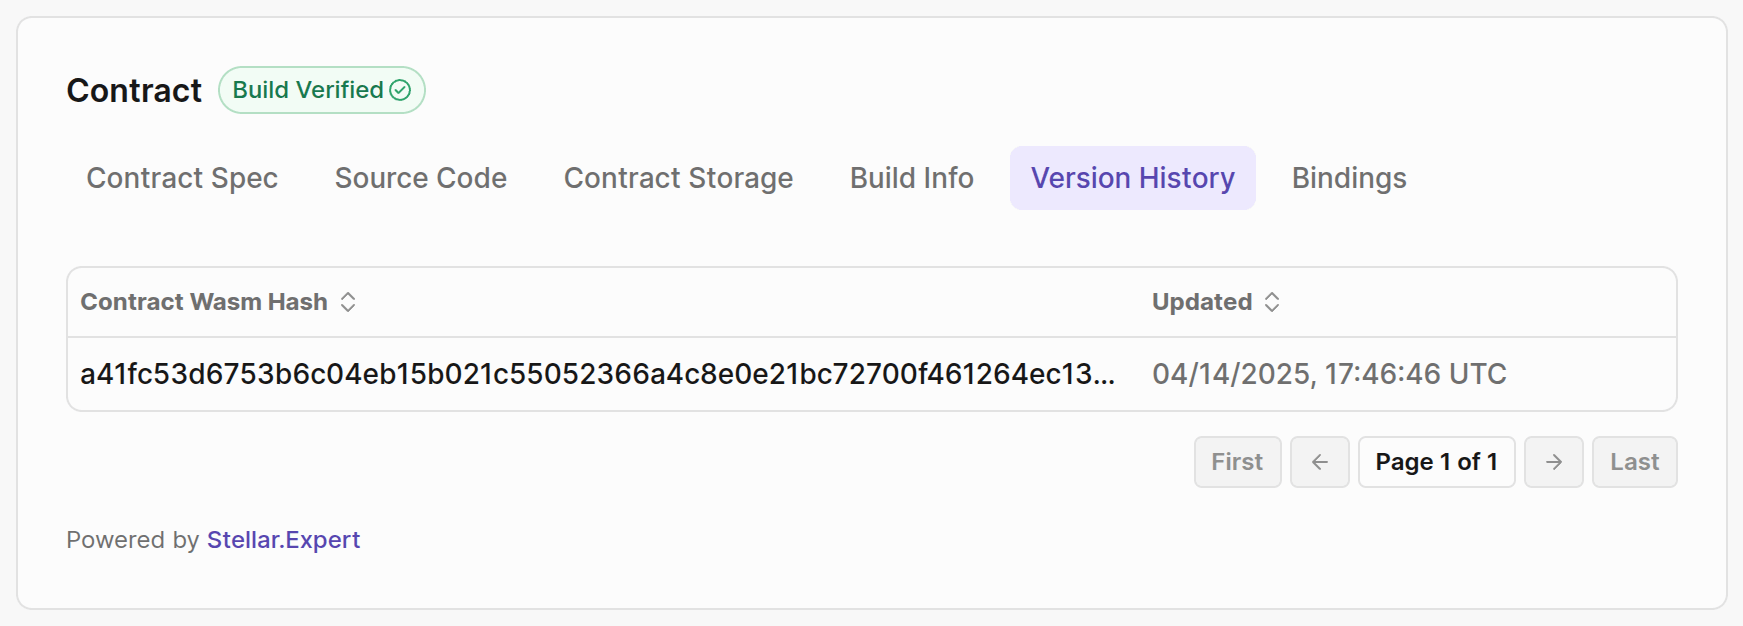
Version History
In this section, you can find the Wasm history of changes.
Bindings
Bindings are a feature of the Stellar CLI that generate fully typed client libraries for your smart contracts, tailored to your chosen programming language, including TypeScript, JSON, Rust, Python, and Java. This makes it easy to integrate Stellar contracts into your application as if they were native modules. Each binding provides type-safe functions corresponding to your contract’s methods. To learn more about generating bindings, please see the Stellar CLI’s bindings command.
Invoke Contract
The Invoke Contract page lets you interact with smart contracts directly through the web interface—no command-line tools or custom scripts required.
A connected wallet is required to invoke the contract.
How to Use
- Connect Your Wallet: Choose to connect a browser wallet by clicking "Connect Wallet" in the top right corner.
- Select the network:
TestnetorMainnetin the top right corner. - Enter Contract Details: Provide the contract ID
- Select a Function: Choose which contract function you want to invoke from the available options.
- Fill in Parameters: Enter the required parameters for your selected function. Lab provides type hints based on the Contract Spec.
- Simulate: Simulate the transaction to get the correct fee amount and see the result before submitting to the network. By default, you'll see the result of the invoked function. If you want the full response of the invoke contract, simply toggle "Show full response".
- Submit: Only use this when it's a
Writeoperation and you want to change the data on the network.
Once you simulate the function, you will see a tooltip that says either Read or Write next to the title of the function you invoked. When a transaction doesn't change the state of the contract, it is considered a Read operation. In this scenario, it is not necessary to submit the transaction to the network, as it does not modify any data. You can simply simulate the transaction to see the results without incurring any costs.
Use Cases
- Testing: Quickly test contract functions during development without deploying test scripts
- Debugging: Investigate issues by invoking functions with different parameters and examining outputs
- Education: Learn how contracts work by exploring and invoking public contracts
- Prototyping: Experiment with contract interactions before building full applications