Jupyter Notebooks
Jupyter Notebooks are a document format that can include code, text, and other rich output. And with the appropriate setup they support Soroban Rust contracts.
To use Soroban contracts in a Jupyter Notebook, the following setup is required. The following setup uses Visual Studio Code, but any Jupyter client and server can be used.
Rust support in Jupyter Notebooks is experimental. You might run into bugs, or unexpected behavior.
Getting Started
-
Install Visual Studio Code (VSCode)
-
Install the Jupyter Notebook extension in VSCode
-
Install the
evcxrRust Jupyter kernel with:cargo install --locked evcxr_jupyterevcxr_jupyter --install -
Run the
Create: New Jupyter Notebookcommand in VSCode -
Click the
Select Kernelbutton in the top right -
Select
Jupyter Kernel... -
Select
Rustby searching for Rust -
Enter on the first line an import of the
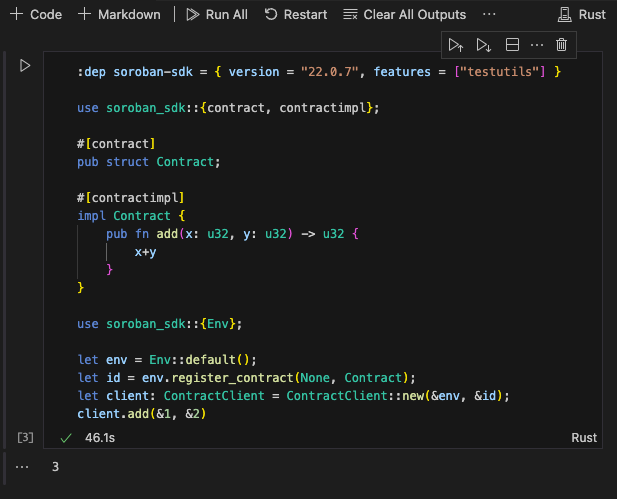
soroban-sdkdependency with thetestutilsfeature enabled.:dep soroban-sdk = { version = "22.0.7", features = ["testutils"] } -
Enter a contract. For example:
use soroban_sdk::{contract, contractimpl};#[contract]pub struct Contract;#[contractimpl]impl Contract {pub fn add(x: u32, y: u32) -> u32 {x+y}} -
Enter some code to create a Soroban environment, register the contract, and invoke it.
use soroban_sdk::{Env};

let env = Env::default();
let id = env.register(Contract, ());
let client: ContractClient = ContractClient::new(&env, &id);
client.add(&1, &2)
- Click the play button to run the code.
Congratulations you have a Jupyter Notebook with contract code that should look something like the screenshot below, ready for hacking and experimenting.
Screenshot
Community
Have ideas for how to improve Soroban contracts in Jupyter Notebooks? Join the community on Discord.